Trace Elliot Speed Twin C50 Repair

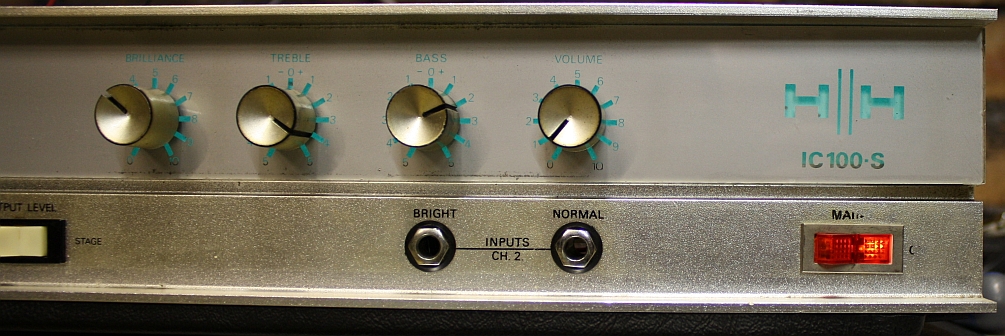
The Trace Elliot Speed Twin are a series of amps includiung a C30 (30 watt combo based around 4 x EL84) and 50 or 100 watt combo and head variations based on EL34 either pair or quad respectively.   They have two channels and the usual features one would expect in a modern amp plus a few unusual features.  Designed in 1996 and redesigned in 1998 to comply with EU emission standards, improved fusing and some improvements in PCB layout they have some great features and supporting information and are solidly built.

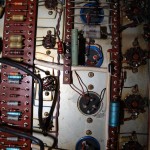
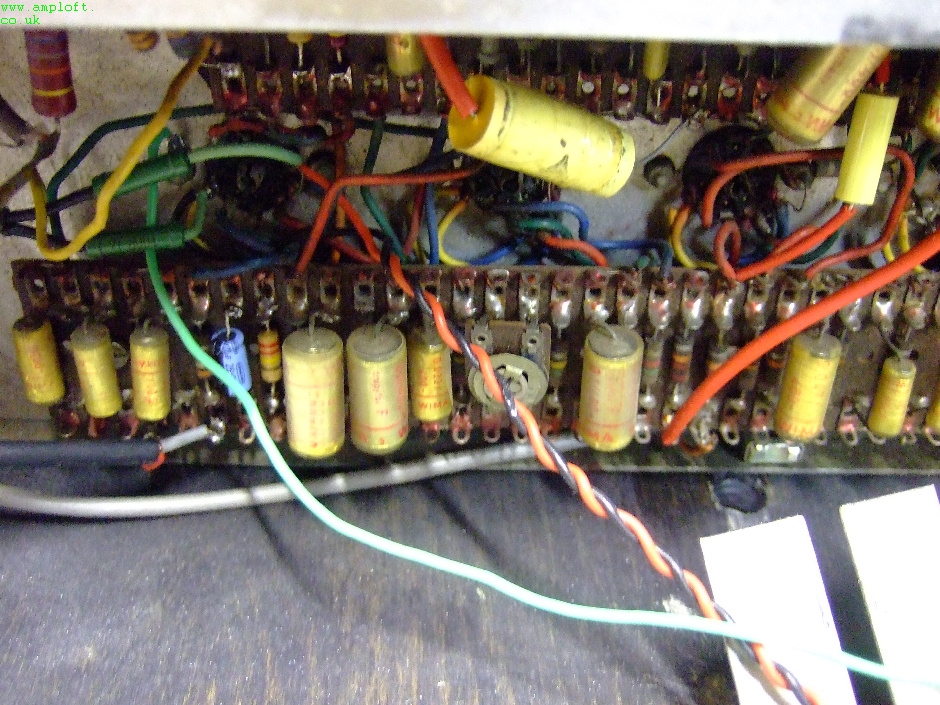
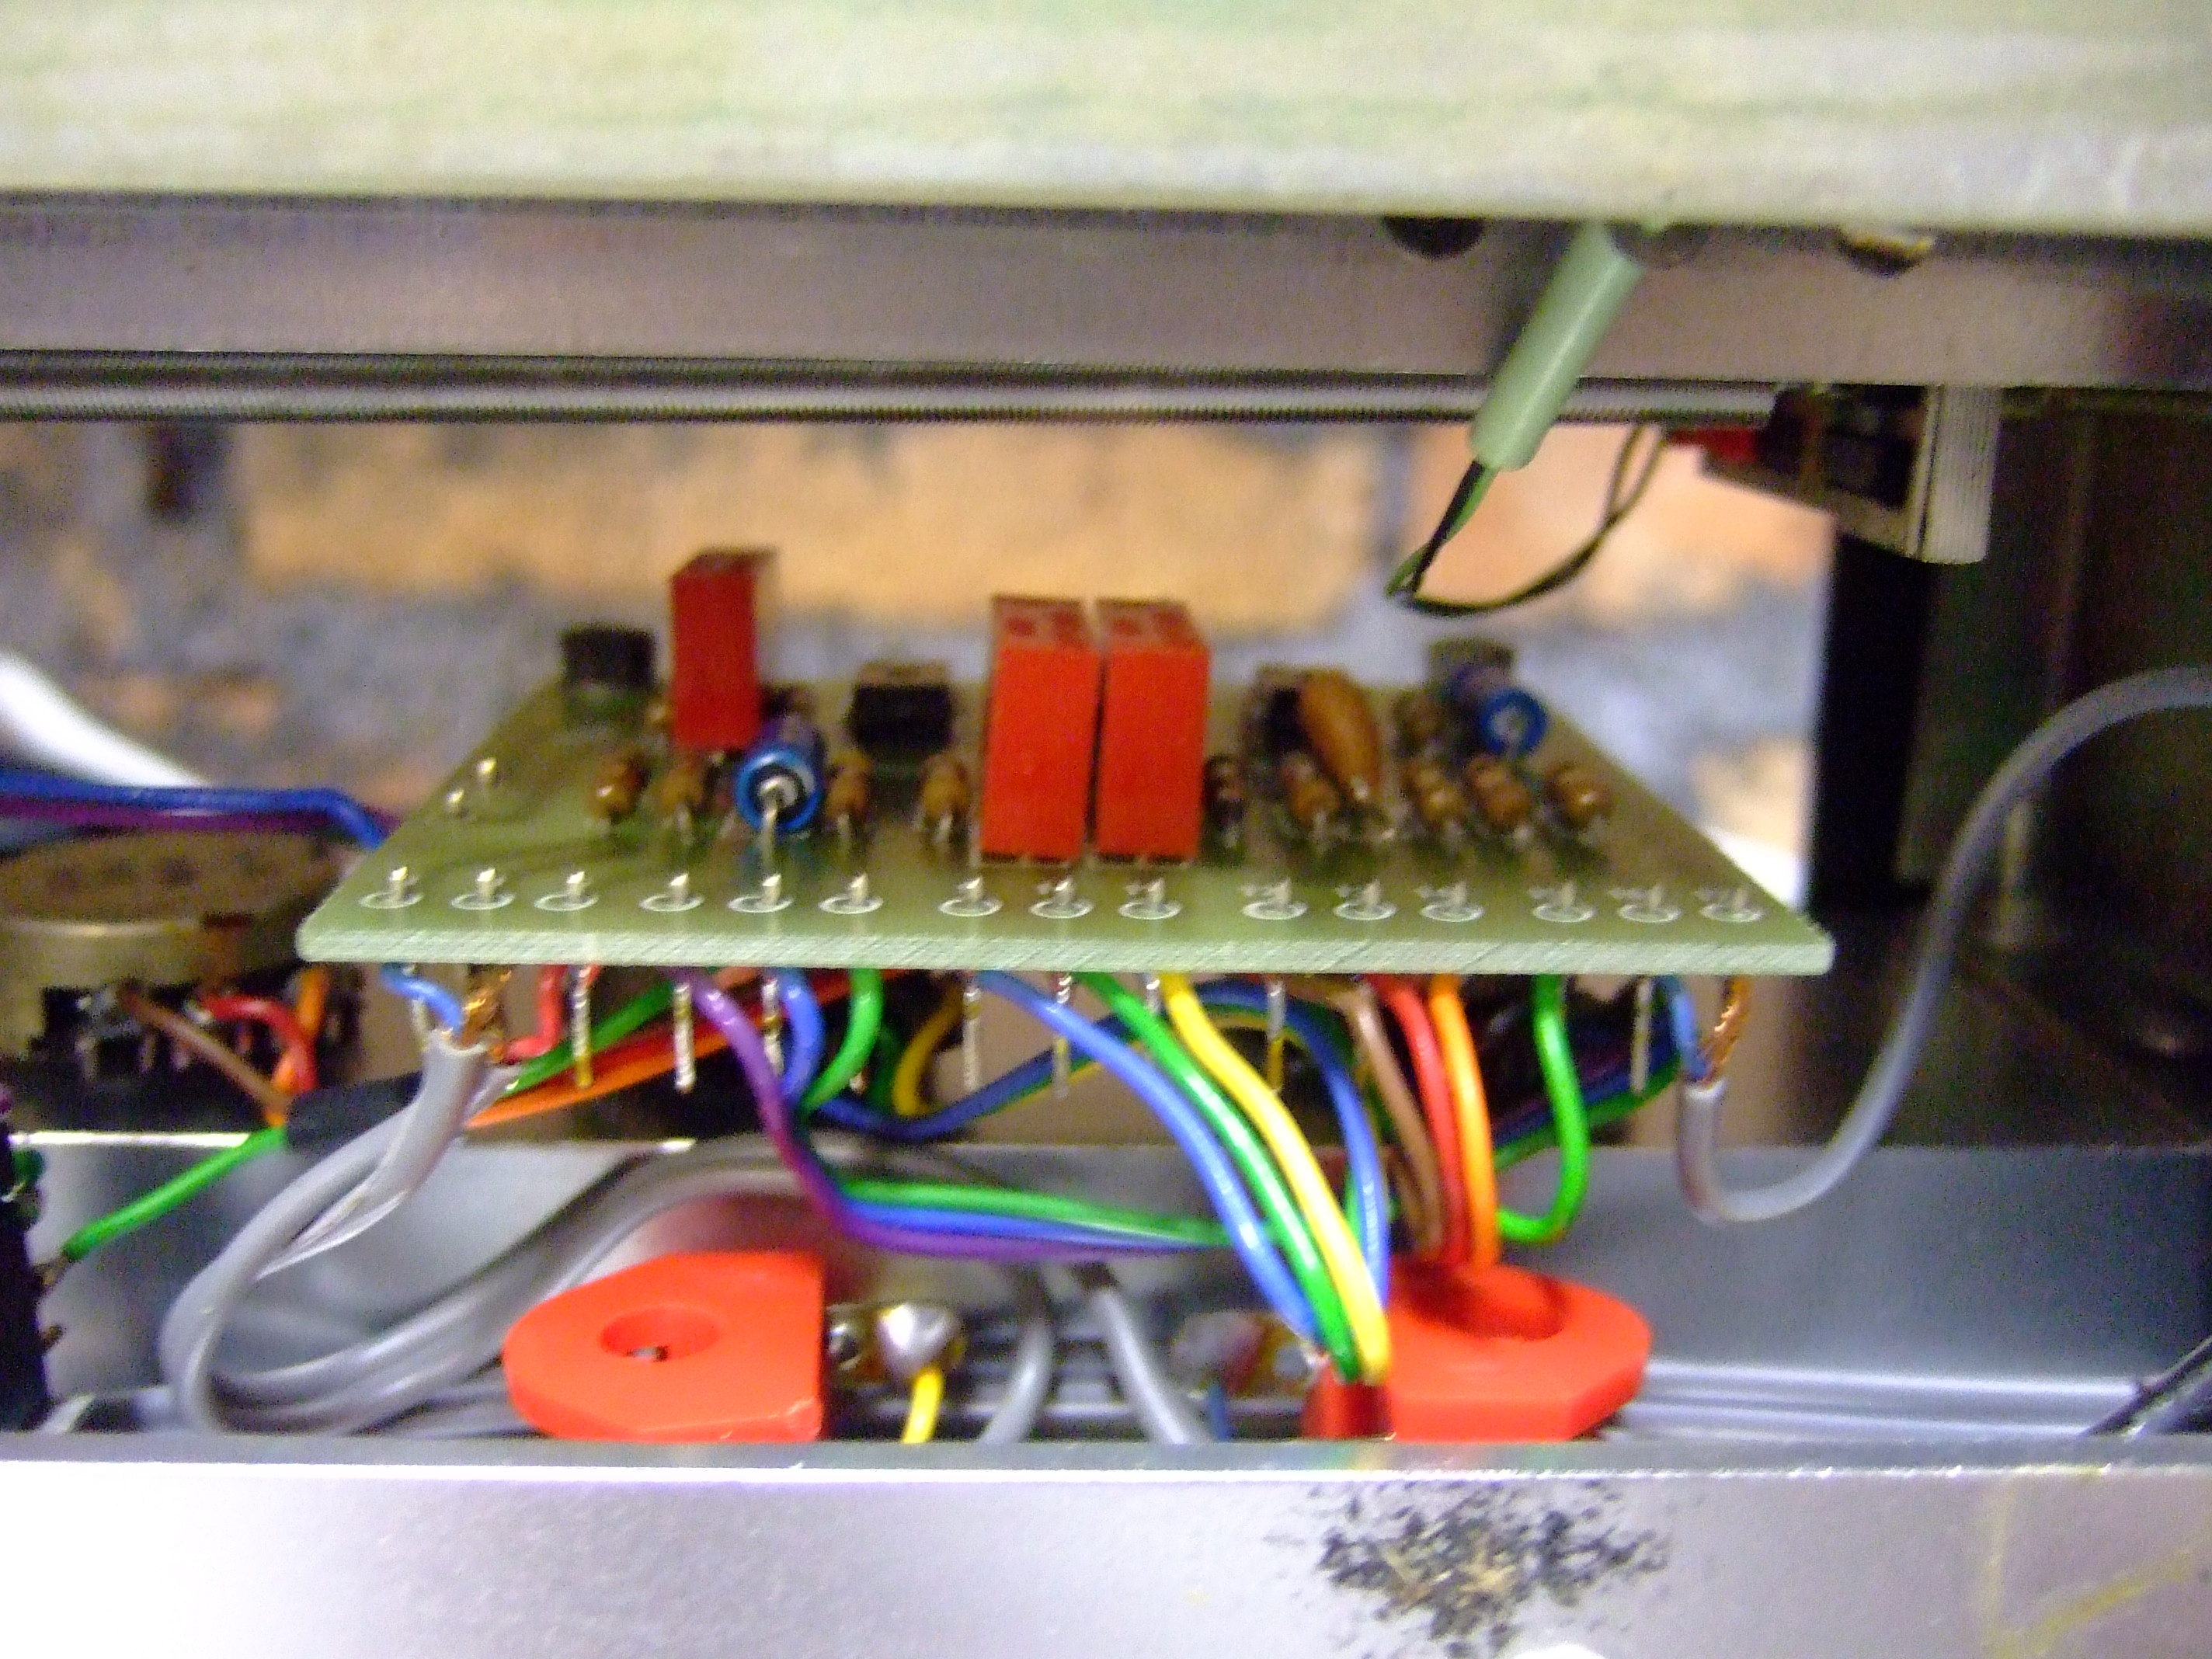
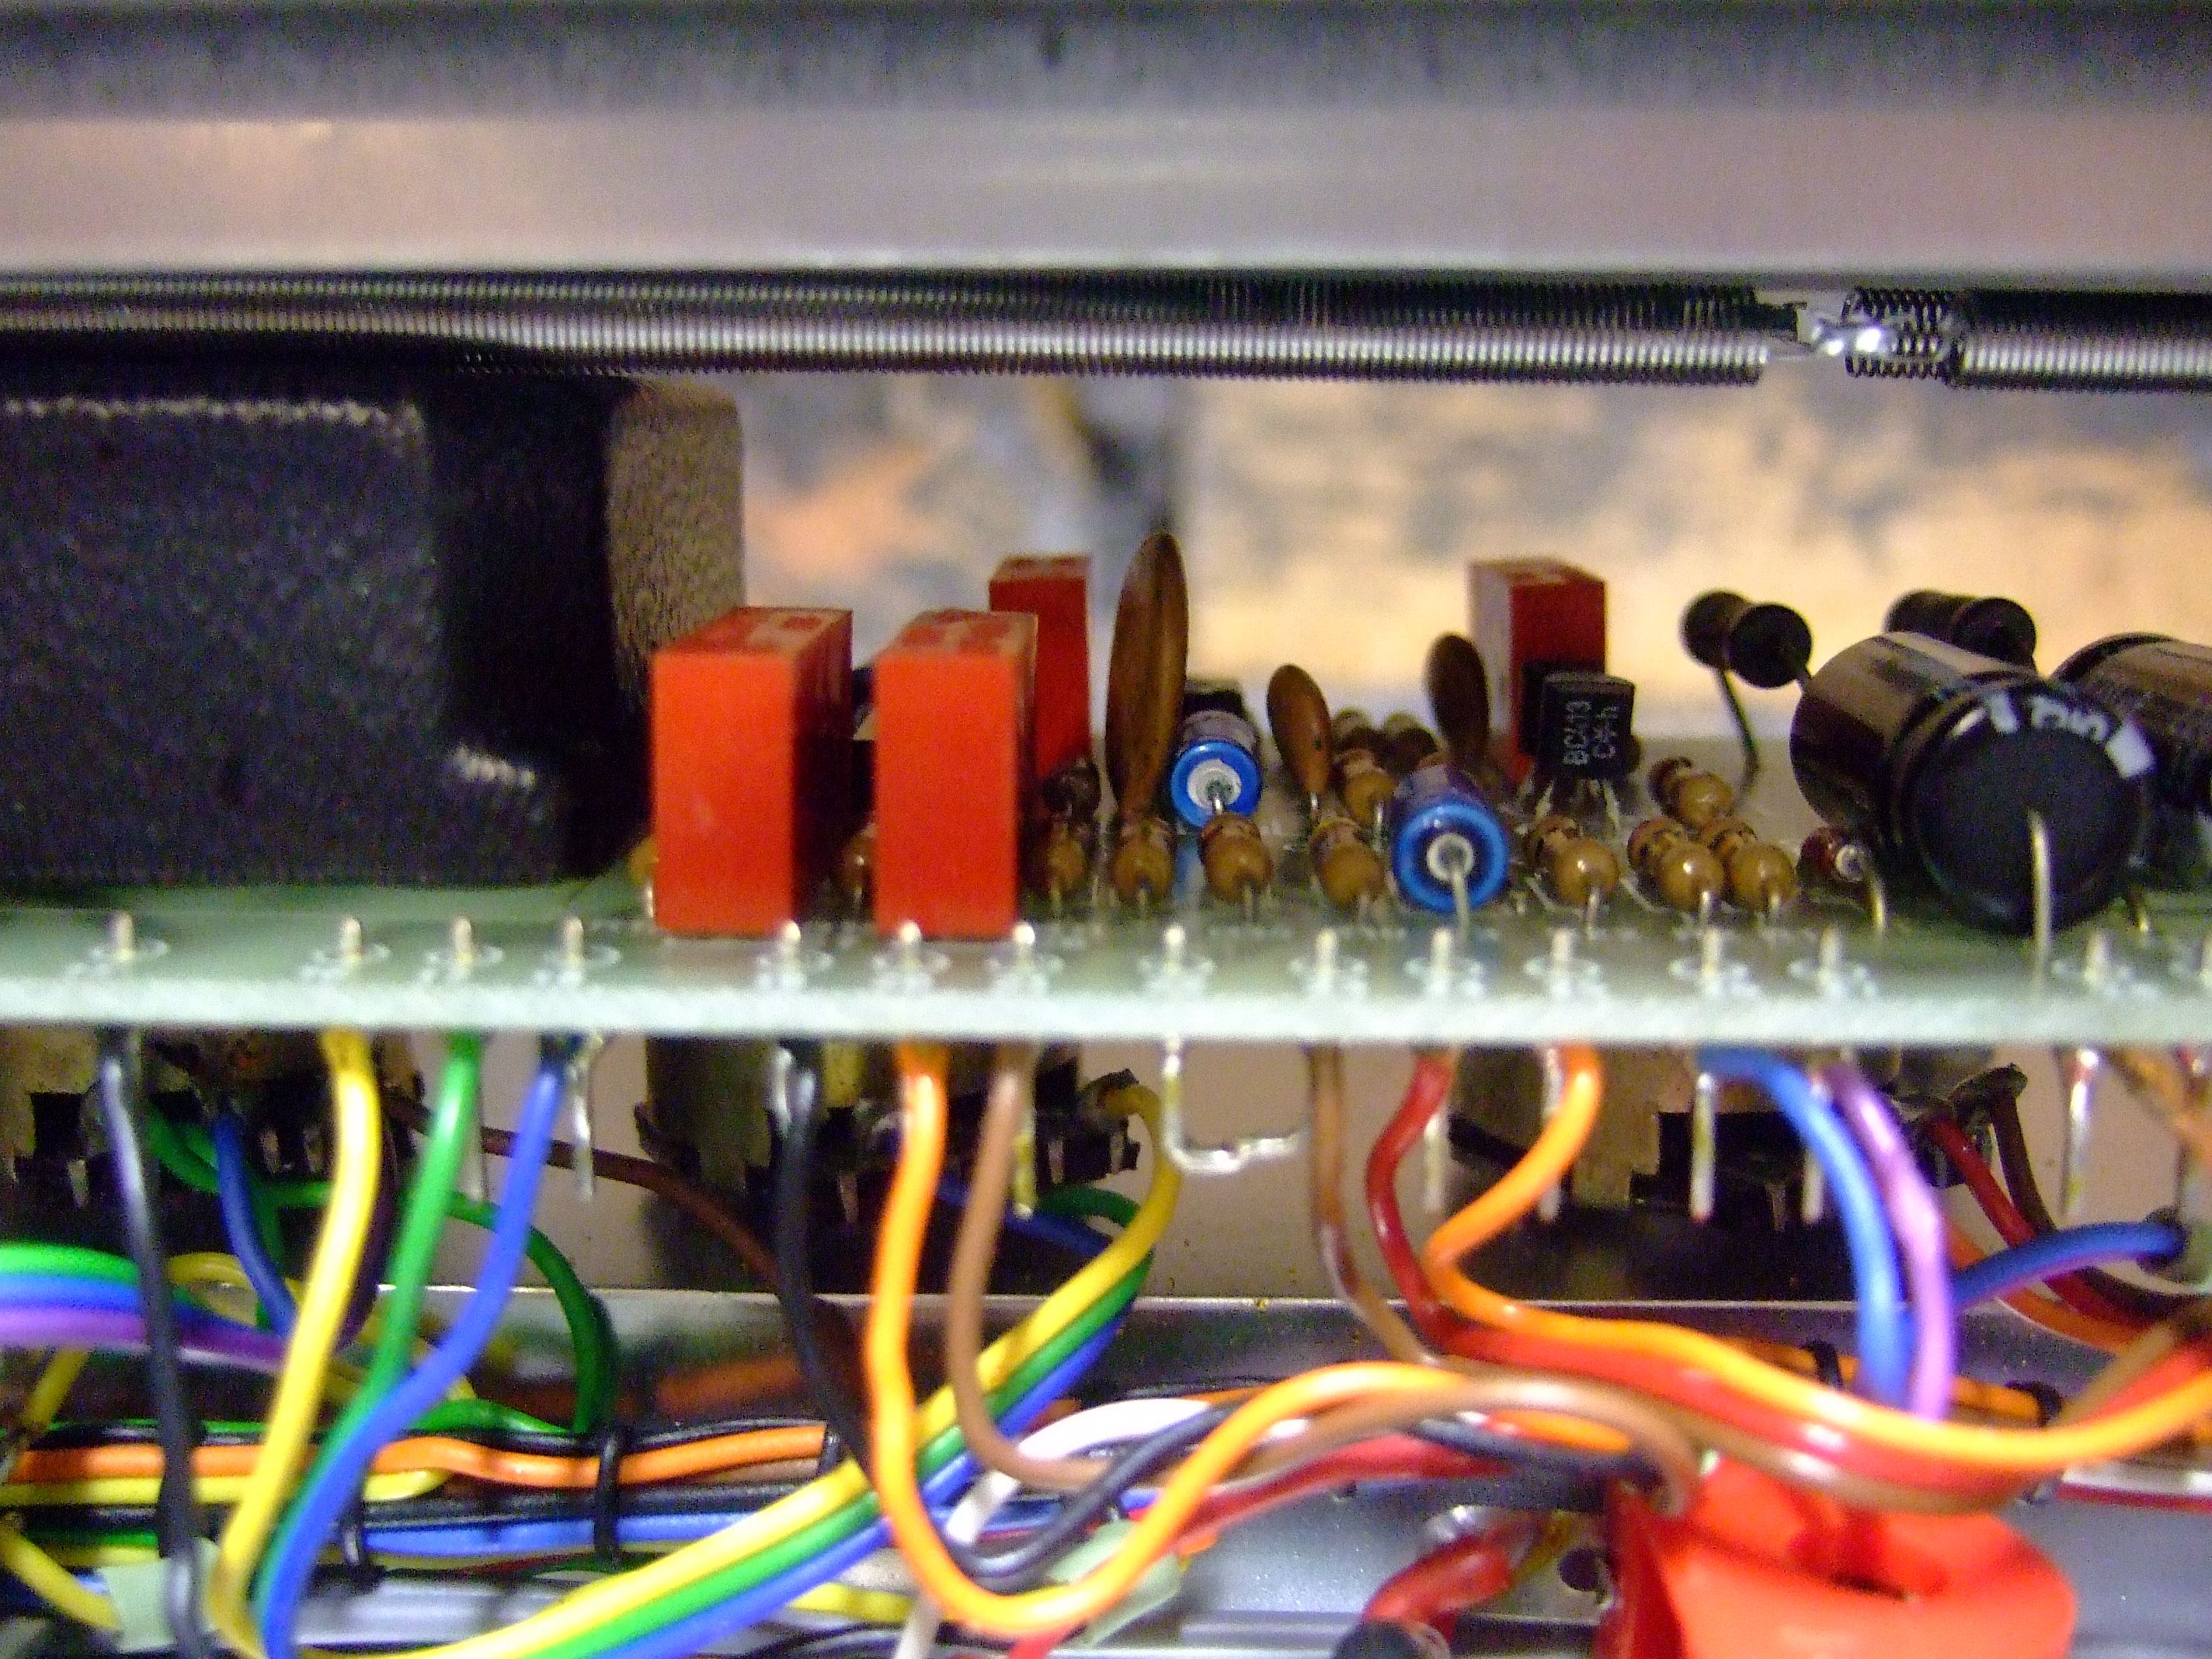
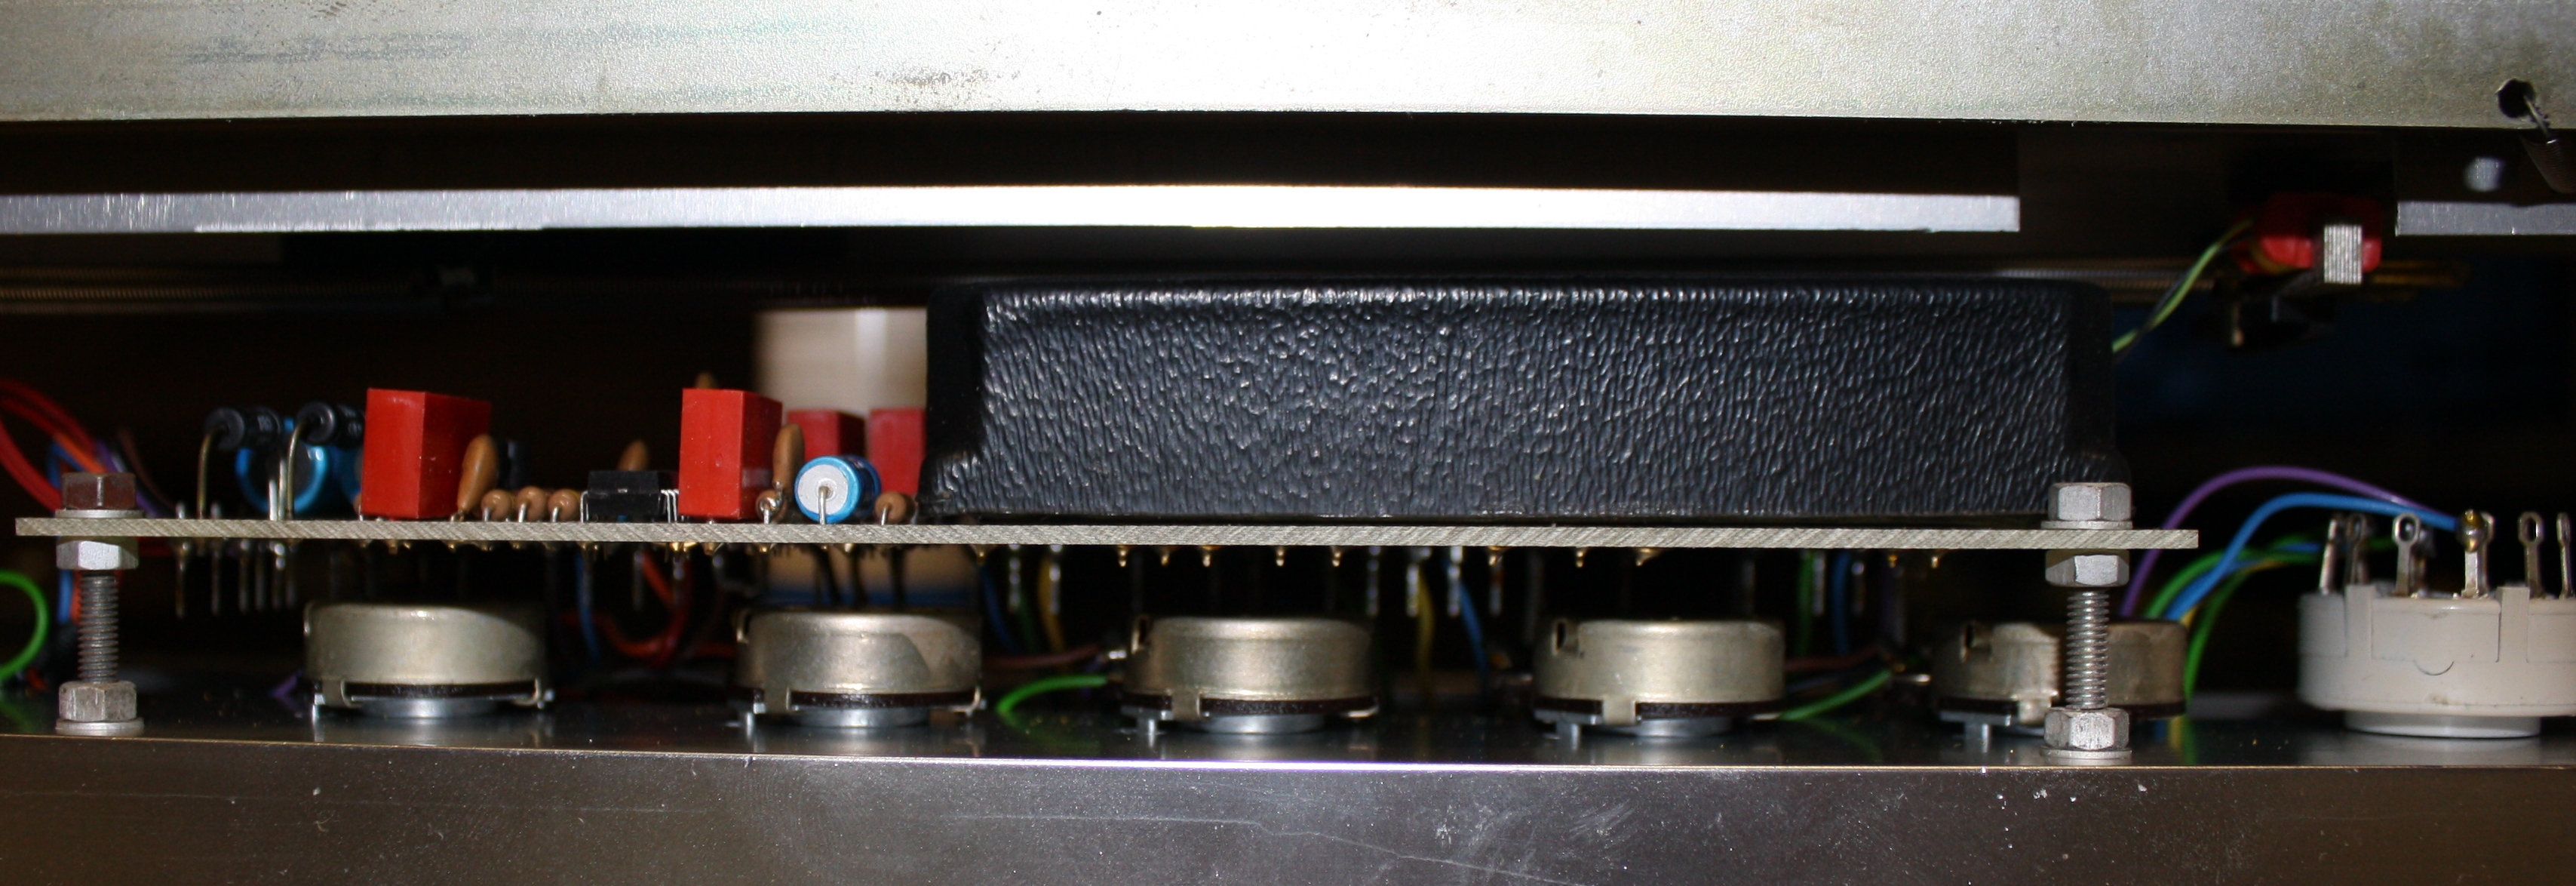
Although PCB based great care has been in the circuit layout to minimise hum and pickup typical in hand wired amps through poor lead dressing.  There are two circuit boards one for the pre amp and one for the power amp – these components seem to be shared with other Trace models e.g. Bonneville according to the circuit diagram at least. I have found that the PCBs are a little cramped in places and the circuit board pads not the most resilient.  However I would say that these amps are good quality and their unique  features make them well worth a look.

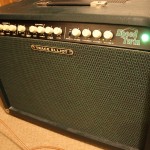
What I like about these amps is that the bias is adjustable from the back in a safe manner (well the MkII are) meaning that anybody can do the adjustment with a cheap multimeter and a screwdriver and the supporting instructions make it very clear.  Also they support different power valve types e.g. EL34 and 6L6 and power levels – I love this idea very flexible and also switched pentode / triode operation.   Great for people who want to experiment with sound and for recording. Note the Mk I must be bias adjusted using bias probe as their is no measurement resistor.

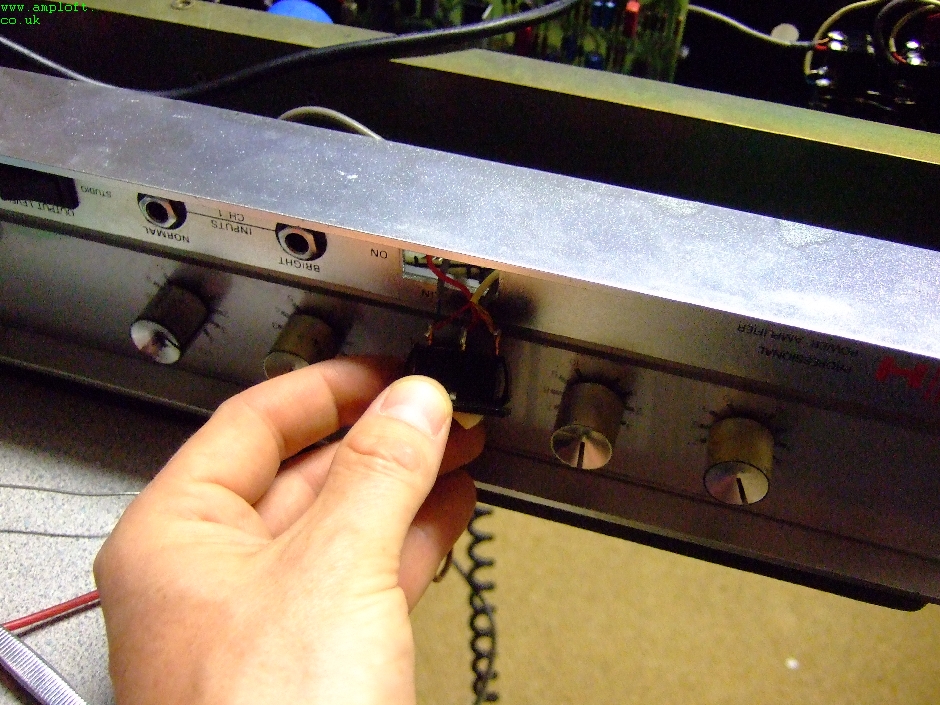
I was lucky enough to take a look over a C50 speed twin combo this week.  The fault was that it went bang after being left on for three days accidentally and as the owner turned it back to standby so there was a bang and a dead amp.

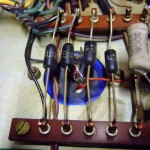
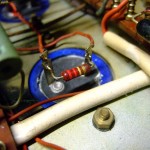
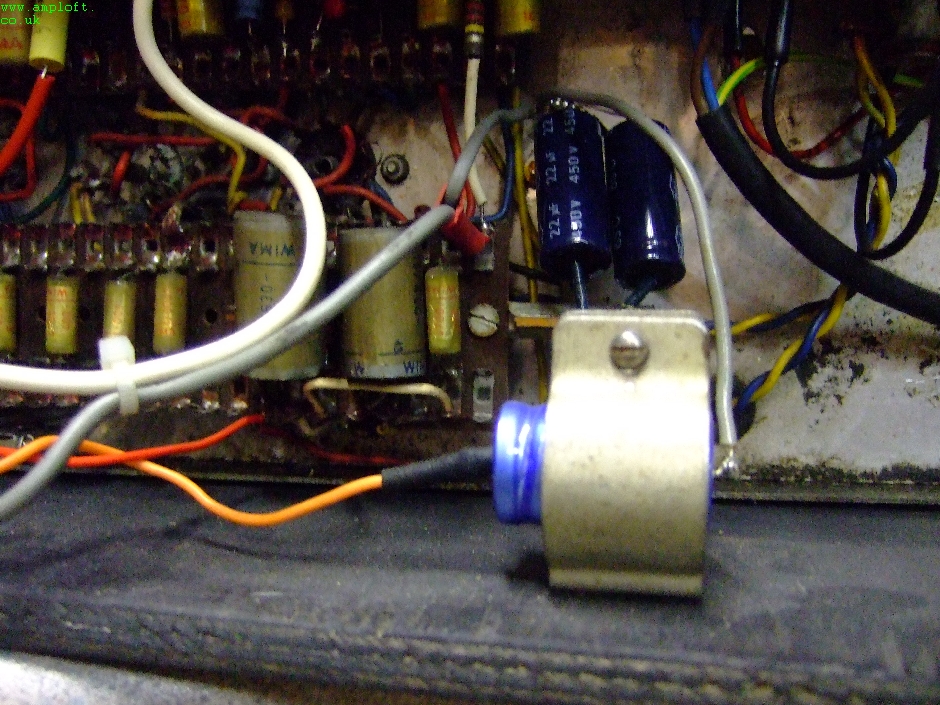
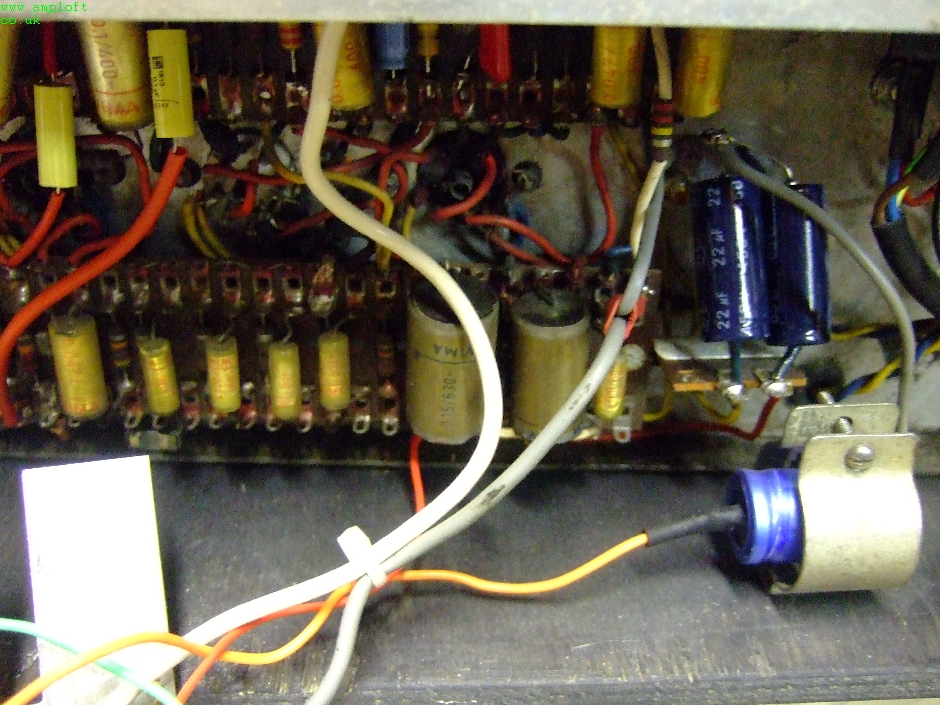
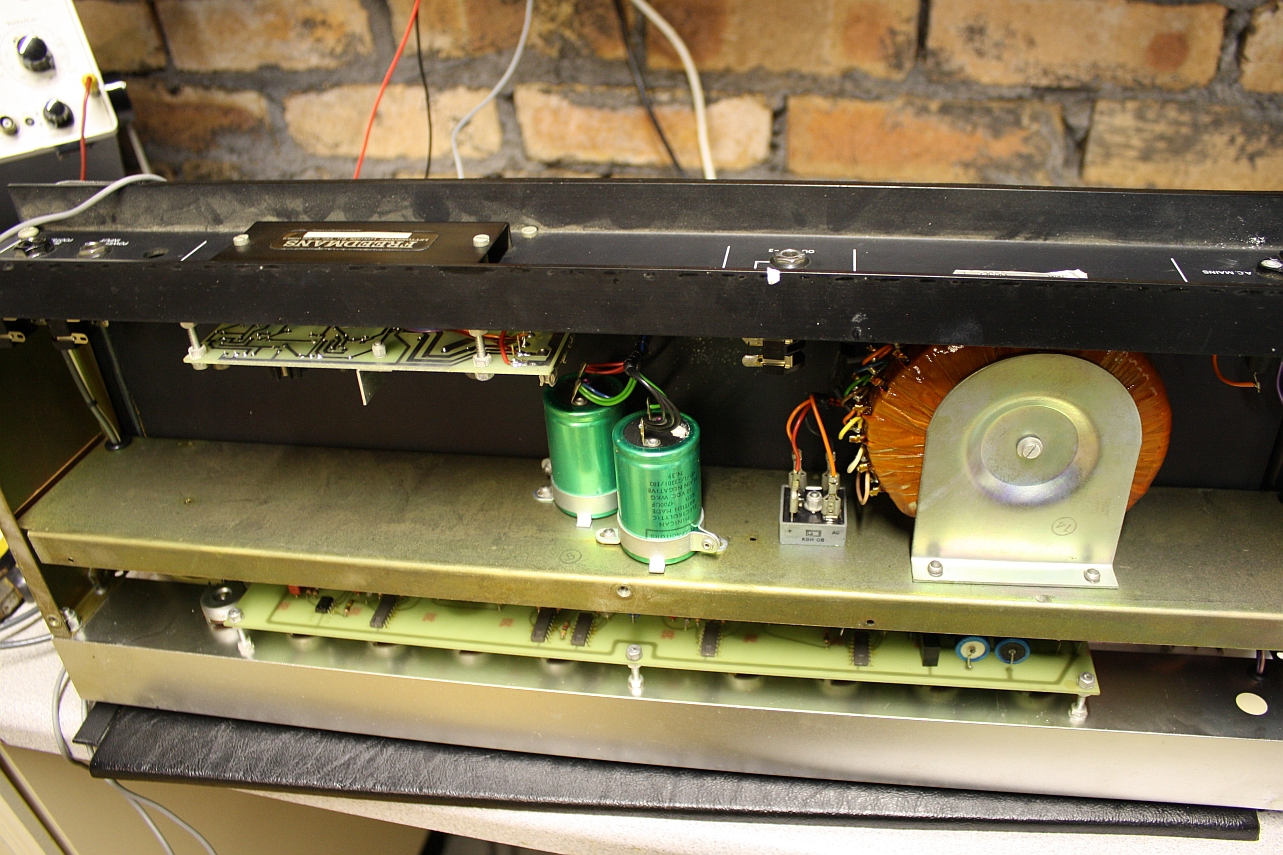
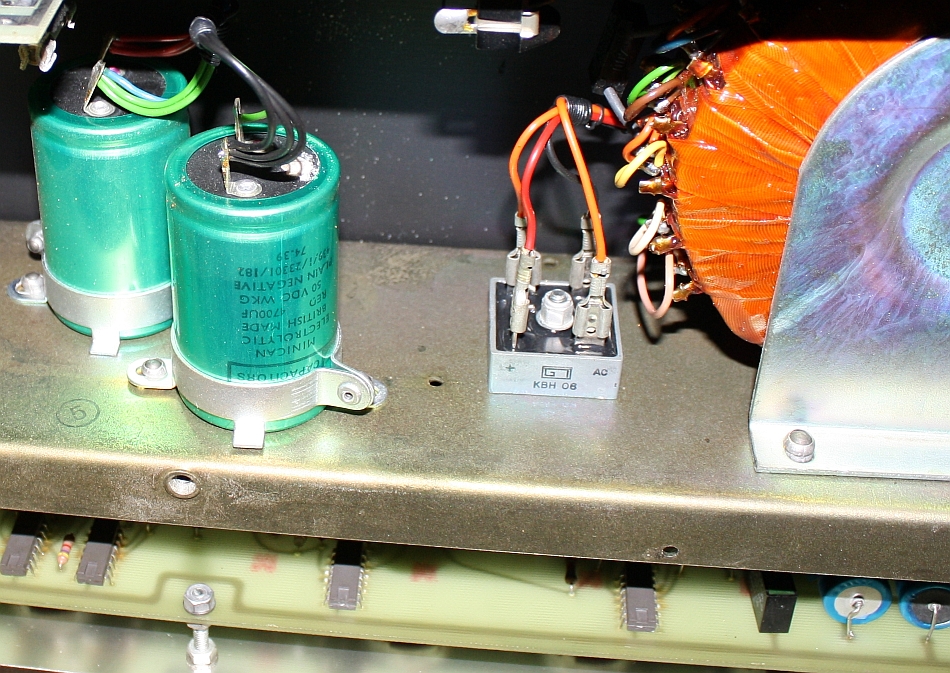
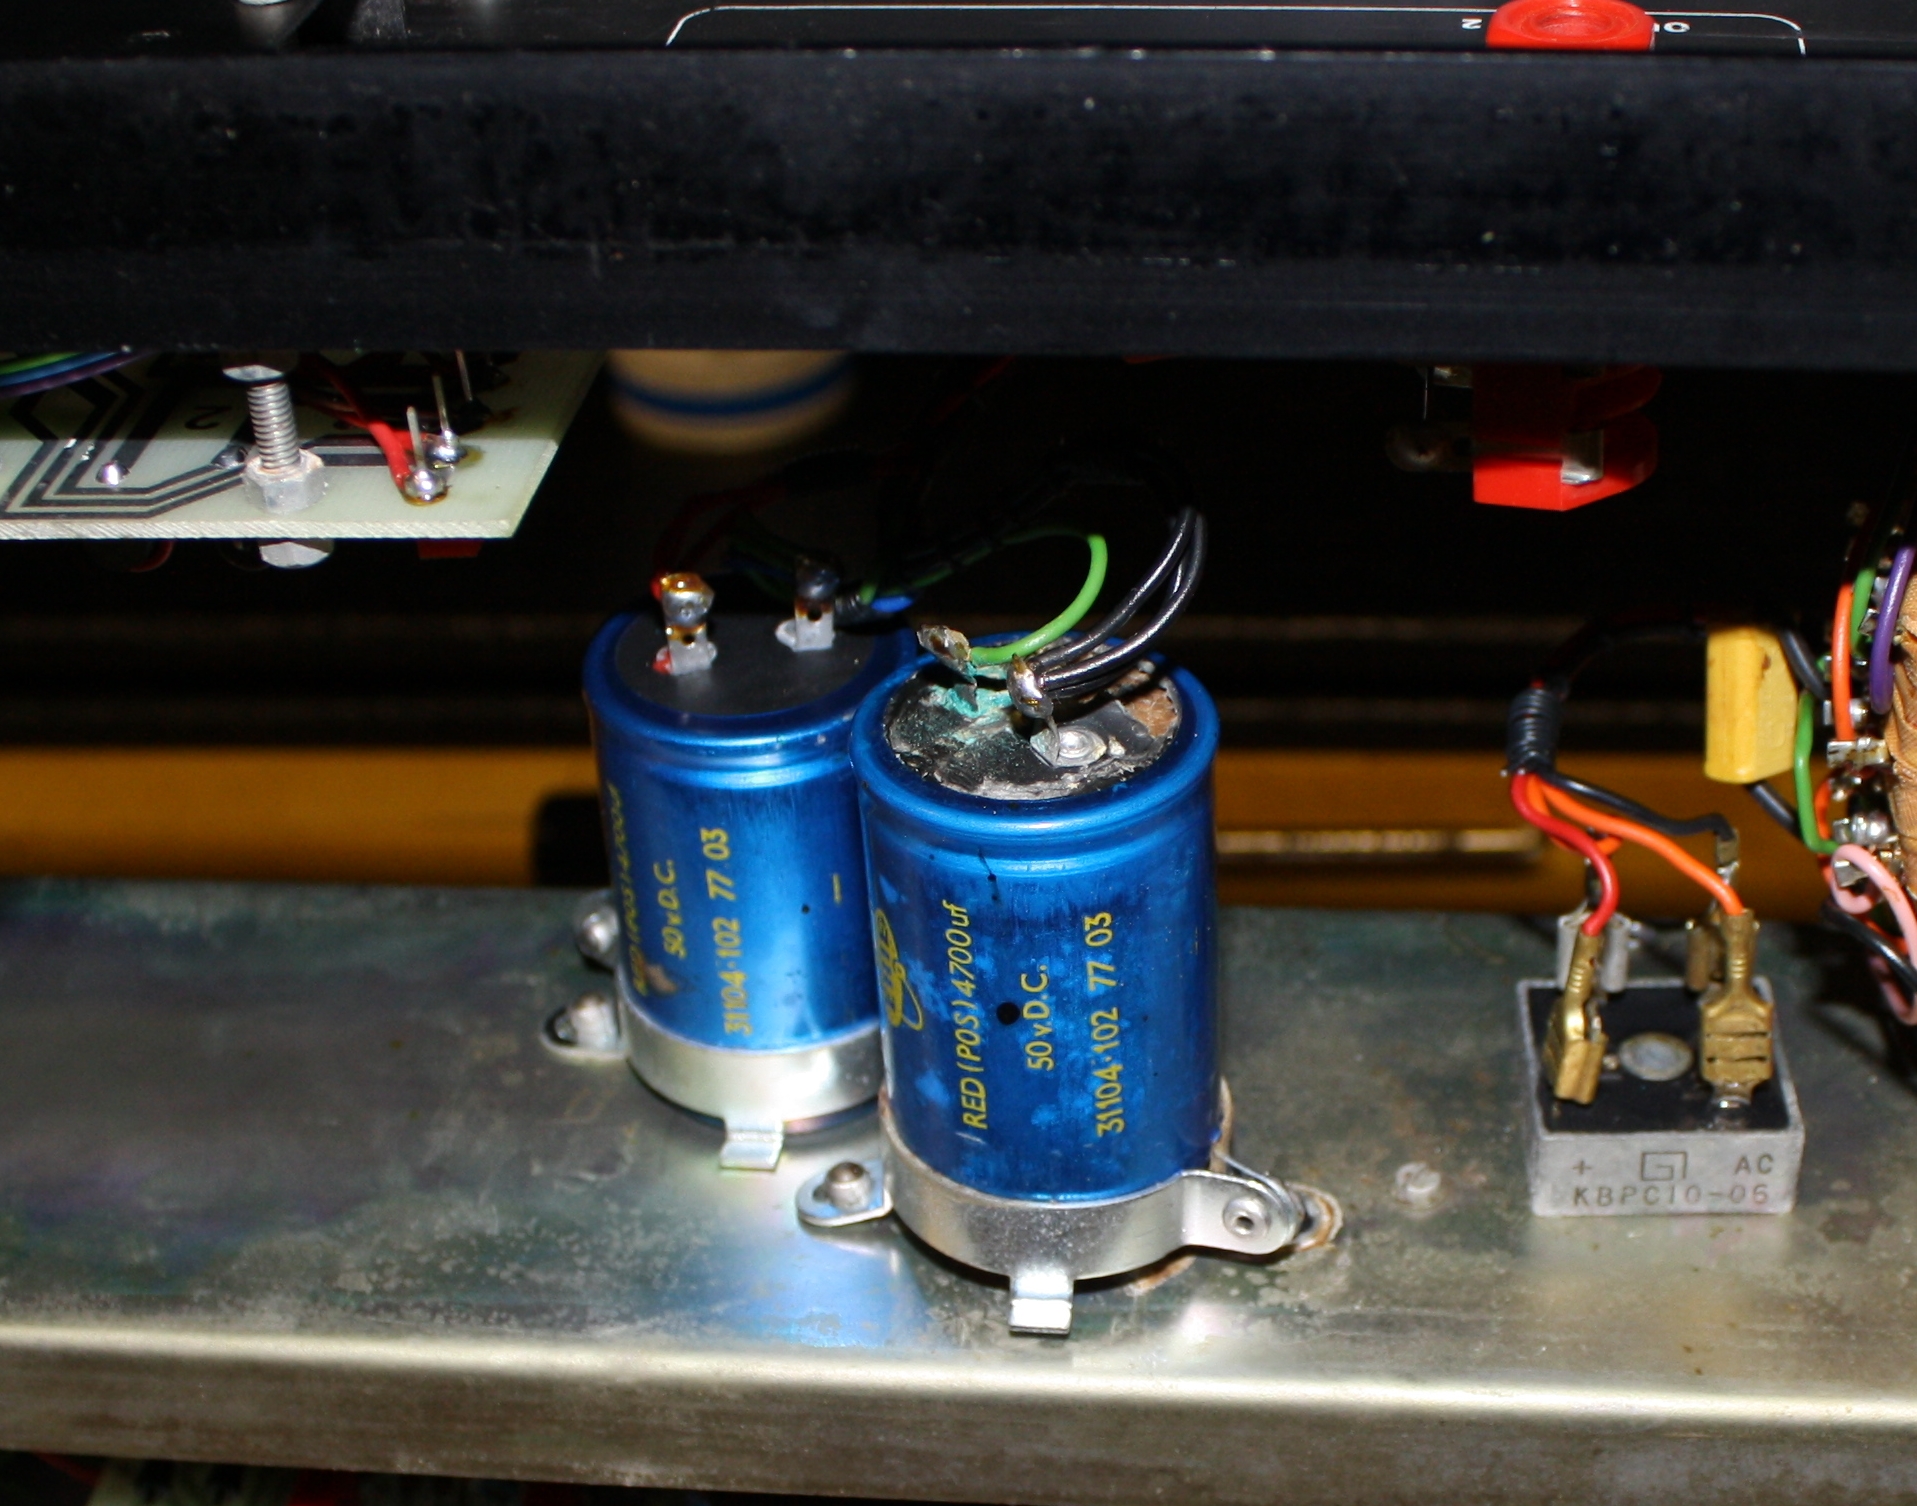
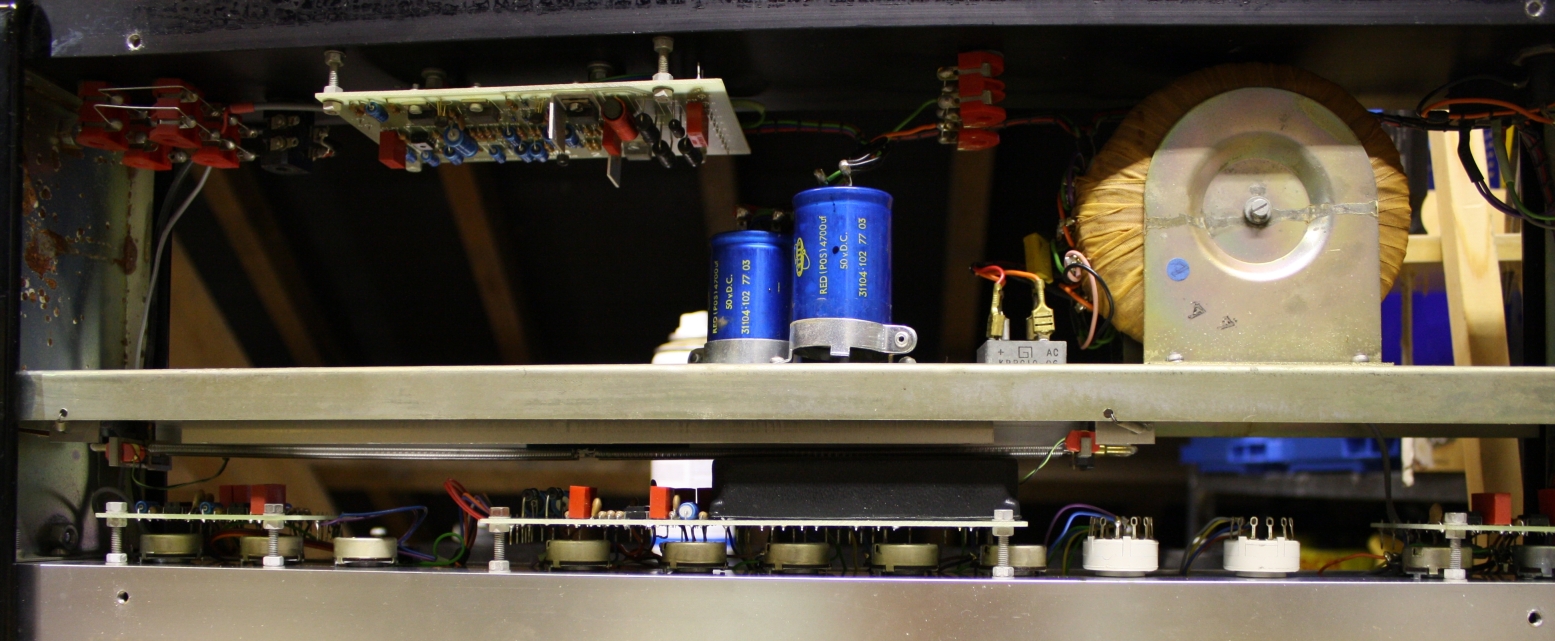
Upon opening up the amp which is extremely heavy and well made I immediately looked round for the source of the bang.  It turned out to be a group of four diodes near to the power valves – a bridge rectifier. Not uncommon for these to burn out in response to a downstream short e.g. from a smoothing capacitor or in this case the 7824 regulator – the supply for the channel switching relays.

I had picked up a circuit diagram from a forum for this amp but kept finding inconsistancies e.g. missing fuses and different component values which made me think I was not looking at the correct diagram.  However my experience contacting traceelliot / peavey for the correct diagram was a joy – see below for more on that. But first the repair details.

Replacing the four 1N4002 diodes (1A general purpose rectifying diode) was fairly straightforward apart from having to remove the smoothing capacitor nearby to get access.  Although pad damage was inevitable as the plate-through holes were barely big enough to accomodate the diode leads does raise the question of layout design.  I mean this amp is massive, there is no shortage of space inside yet the PCB are squashed in places.  Like all things I am sure there is a good reason.  Powering up the amp (without power tubes in just in case) revealed that the diodes were working ok and checking the 24 volt supply all seems good. However upon fitting the original (13 year old valves) I discovered that one was open circuit on the heater filament.  So perhaps that is the cause of the issue.  . .   Ordered a set of Harma from Watford Valves and then we are good to go.

What was interesting in this amp was my experience in dealing with Trace Elliot or Peavey as they seemed to be owned by now.  I contacted them one morning for the circuit diagram (not expecting much help) and got this fantastic response – in just two and a half hours.

Hiwatt DR112 Fault

This Hiwatt PA is quite original. Transformers, knobs, Capacitors were all as new with date codes and appropriate levels of corrostion from the early 70s. There is evidence of some earlier repairs e.g. the rectifying diodes are not very straight and some resistors have clearly been replaced at some point.  If you have never seen inside a Hi watt amp then you are in for a treat.  They are literally the neatest amps going resembling something of an underground railway map in different coloured wires neatly routed around the chassis.

The amp’s fault was that the sounds was fading out and very erratically.  Upon opening the amp up it clearly had signs of ruptured capacitors so I decided to start with a re-cap job where all the electrolytics are replaced.  Like many amps of this era the Hiwatt uses three pin capacitors.  These are simply two capacitors in one can with a common terminal.  Locating these is not easy though however the excellent Watford Valves was offering F&T capacitors that meet this specification. So I picked up a set of these, all cathode decoupling capacitors and power amp coupling capacitor.  That is all the electrolytics covered and costs around £50 to do.

Having replaced all the capacitors it’s always best to check, check and double check that you have polarity correct.  Consequences of incorrect polarity are devastating so all ways play safe.

Once up and running the amp was sounding very nice and clear.  Immediately you want to start playing one of Pete’s solos from Live at Leeds.  For whilst this is a PA head the power amp stage is identical to the Lead heads it’s just got six channels to play with.  These PA heads don’t seem to attract the silly money that guitar amps do so for my money I like them.


Price Guide

Service Price Guide

Service, Repairs Prices are based on a blended rate of diagnosis time + build time + parts. Parts are competitively priced.
Service TypeDescriptionLabour + Approx Parts
MODIFICATIONS
EvaluationAn assessment of a faulty amp as to value and cost of repair.
Good for Insurance damage assessments, DIY repairs.
£34
Speaker SwapDiagnosis of suspect speakers or replacement for tone upgrades.£42
Mods and UpgradesVariable pricing. Note amp must be fully working before modding, that means recently serviced so that no issues are present before modding. See Mods page https://amploft.co.uk/blog/mods/ for more ideas or if you have seen something that you are interested in then let me know.variable
BIAS CHECKBias Check and Adjustment
- easy access ampFor amps with accessible measurement points e.g. Ampeg SVT, Marshall DSL, TSL, Fender Twin 90s period and many others£34
- internal access ampFor amps that require dismantling to access measurement points e.g. Older Marshalls, Blackstar, Orange, Sound City, Hiwatt, Laney£45
SERVICING AND REPAIRS
Control Panel Quick FixRepair of a single control panel part like switches, control pots, sockets. Often better value to opt for a complete service.£48 + £4
Full ServiceComprehensive check over and repairs of a predominantly working amp.
Includes minor repairs and adjustments but no, or very limited fault diagnosis.
Good for Broken front and rear panel parts like jacks and pots and identifying noisy valves. Approx parts cost based on a few jack sockets and a pre-amp valve
£68 + £30
RepairAs per Service and additionally includes some fault diagnosis and repair.
Good for Noisy amps (hums, rustles, cracks), Unreliable amps – cutting out, volume dips
£96 + £30
Complex RepairAmps with several faults requiring diagnosis and repair. Aimed at older amps requiring minor restoration.£119 + £30
RestorationFull Restoration of vintage amps like with multiple fault issues.
Re cap, Valve replacment, Repairs, Safety Issues dealt with.
£192 + £150
AMP BUILDING
Kit Amp BuildComplete build of kit amps as per your specification. 5E3, Plexi whatever your preference. Good Kit suppliers are: Tube Amp Doctor, Tube Town, Metropolous, Modulus, Amp-Maker, Ceriatone etc. Most suppliers will specify a typical build time. £400 + £20
Kit Amp coaching session.One and half hour private one on one build or diagnosis coaching session.
Fancy building a kit but uncertain about how difficult it is?
Learn the best build sequence, techniques.
Safely let me take care dangerous high voltage power up stage.
Typically allow for three to four sessions for a 5E3 style amp.
£79
CHARGING RATES
Diagnosis RateHourly rate for assessment, diagnosis and measurement.£34
Build RateHourly rate for build and rework activity.£22
Fast Track SurchargeSurcharge for quick turnaround and skipping the queue, subject to availability£22

Last updated 12/07/2023
09:51.

Parts Pricing

Most popular valves kept in stock to cover gig emergencies or those in need of a backup in the Bristol, South West area.   No shipping available.

Yamaha G100 II Guitar Amp Head

I really like this amp – it’s big.  Big knobs, big sound, big heavy wooden box and transformer, enormous capacitors like cans of red bull.  From the outside it looks like it is stuffed full of vacuum tubes – so what’s not to like?

Inside it is really well put together neat wiring looms, circuit boards and plenty of cooling.  I would definitely like one of these of my own but maybe a combo would be handier for me.

Play wise it has two channels a straight clean channel and a fuzzy pre-gain channel.  For me there are way too many tone knobs to play with including a parametic EQ which I could mess about with forever and never learn any of my songs.  Also this amp as a lovely reverb sound and I think these amps would be great in a rock n roll set up as they are surely loud enough for most gigs.

This one just had a little problem of a loose transformer. Strangely the transformer, which must weight several kilos, is held in by four skinny little screws.  Quick fix for this sort of thing is just to tighten them up every twenty years.  If you don’t then it could be kind of a mess.  What I also add is a little threadlocker paint that keeps the nuts tight even in the event of a little vibration which is inevitable on a transformer.

Also the little neon lamp had  a broken lens.  Easy enough to replace although it turns out hard to find a  one big enough so I had to improvise a reducing bezel with a washer.  Not brilliant but enough to keep this amp going.

HH IC 100

This HH IC 100 came to me with filter capacitors dried up.  Simply replaced with high quality modern ones from CPC electronics. Fortunately they were roughly the same size so I was able to use the existing rivet system for keeping them in place.  However solder tags are hard to come by these days and I had to make my own from tinned copper wire wrapped into a loop and soldered onto the PCB mount of the electrolytic capacitor.

Also found that the smaller filter capacitors that smooth the low voltage (+/-15v) power supply that is used for the pre-amp supply rails had dried up blue paper on them.  This seems to be a popular problem for this range of amps and maybe caused by the caps being so close the high wattage resistors nearby which run warm.

The sound of this amp is not particularly remarkable and in fact seems a little quiet compared with the other HH amps looked at recently.  I am not sure what  the reputation is with these amps.

UPDATE:  These amps are a little quiet when the switches are old and knackered.  They switch the sound between studio and stage volume and the difference is not surprisingly quite a bit.  It’s a little lesson really checking each switch out carefully and giving a it a firm wobble to see if there are any bad connections.

HH V-S Bass

This amp came in for a check up – nothing too much wrong with it from listening to it.  However upon opening it up found a few tell tale aging signs.

Another check I recommend on the HH amps is the smaller filter caps on the pre amp board that smooth the +/-15vdc supply.  They often have dry joints on them which you can see by gently wobbling the caps.  However in this amps case I found that rather than having bad joints the blue paper just fell off.  Another inexpensive replacement and recommended as a routine fix.

Another issue I have noticed with the HH amps is on the rotary switches used for bass-boost or valve sound.   They do seem to suffer from noisy contacts.  I replaced them on this amp as I found they click and popped when the shaft of the switch was moved slightly.  Also hard to get shafts that are compatible with the size of the old HH silver knobs. However you can trim the knob shafts and make shims to fit them together snugly.

All fixed up now and sounding pretty nice especially with the valve sound is on (as it always should be set – in one amp menders opinion).

HH VS-MUSICIAN

HH Head with the legendary “valve tone” switch and magic electronic black box to make this amp sound exactly like a not-so-popular-with-HH-at-least heavy unreliable valve amp (at least that is what the HH boffins probably thought.

This one came to me with just has a few clicky pots and switches and is in very good condition. Upon inspection found that one of the PSU smoothing capacitors, the negative supply, had ruptured. You can see a picture below of the cap. At over thirty years old, that’s not bad wear and tear.  Sounds clear as a bell now – boy are these things are well made.

In terms of construction these things are nicely made.  They have wiring looms that dressed with military precision running all over the amp.  Good quality components and the all important faint green light up panel.  One thing that I did find a bit of a surprising let down is the connectors from the transformer to the bridge rectifier.  These are made using those 1.4″ blade (sometimes called lucar) connectors.  Nothing wrong in theory, but on this amp all the connectors were crumbling – I wonder if this a common issue.

Here are some pictures of the inside of the amp . . .


Amploft

Is a guitar amp repair workshop located in Redland, Bristol, UK. 

  • Repairs and Servicing
  • modifications and improvements
  • Amp kit builds and kit rescues
  • custom builds
  • Consulting and evaluations
  • Restoration of vintage amplifiers

I have ten plus years experience on all the popular brands of guitar amps and specialise in valve based guitar amps and cover all type of musical instrument amplifier.

IMG_3846

I have a well equipped electronics lab including professional test equipment as well as several very useful bits of home brew that allow me diagnose faults quickly.

All work is carried out using either original manufacturer’s parts where possible, superior alternatives and period correct as per customer preference.

Accepted Payment methods are: bank transfer, payment cards and contactless devices (in person only) and cash.


Centrally located in Bristol, BS6 7TT with easy parking ideal for touring bands, local musicians, studios, schools. As a musician myself  you can be confident that your equipment will be in understanding hands and treated with great care and respect in a smoke and pet free environment.


Being home based – all jobs are by appointment only use the contact form to get the response within a 24 hours.

For urgent jobs I do operate a fast track turnaround service for a surcharge (see price guide). Mention this in your enquiry if relevant.

For schools, studios and other organisations with multiple amps I offer a collection / return service.

How long will my repair tage? The typical repair process operates like this:

  • Enquire and get an appointment – typical lead time is 4 -6 weeks. optionally send in a sound clip.
  • When the appointment comes drop the amp off as arranged. We will have a listen together to the amp and I can usually give some indication of the fault / issue.
  • Repair/service process typically two to three weeks will keep you informed especially if anything unexpected comes up. The delay is to accomodate any parts that need to be ordered in.
  • Get notified by email that repair / service is complete and the bill, how to pay and to arrange a pick up time.
  • Pick it up and get back to making music.

For individuals that cannot make it to a drop off you can send your amp over via friendly taxi driver, courier or I may be able to collect/dropoff. 

For long distance repairs using a courier then you can reduce the courier cost by removing the amp chassis from the cabinet and sending.   Making sure it is carefully packaged up and well insured.   Recommended for amps that do show signs of life i.e. they power up OK.

Laney Linebacker KB120

This little keyboard amp came to me with a fault of not making a useful sound.

Using the effects loop trick I was able to work out that the pre amp was at fault but the power-amp was fine.  Since this amp has three input channels it is inlikely that all three pre-amps are going to be duff – another clue.  There is a comining op-amp that mixes the three input channels into a single feed into the power amp – surely that has to be the issue. So replaced the TL072 op-amp fixed the issue immediately, cleaned the flux off the PCB  and the amp is ready to go.

It’s actually a great little amp.  Three channels.  Inputs for CD /IPOD using phono sockets, effects loop and a lovely reverb.  I used it for a www.lovevultures.co.uk gig playing bass and it was delicious, the big speaker could easily have handled our keyboard player too.


Fender Deluxe Reverb

My friend Roger’s lovely 1972 Fender DR suffering with smoking front panel looking like a scene out of spinal tap.

Took it apart, powered it on and . . . all fine.  So what’s  the problem – nothing, it’s fine.  Left it on for a while – then fireworks. Bang . .  .Bang – bits of electrolytic capacitor all over the place and that curious, quite pleasant smell.

So replaced the caps, and with a meter measured the anode HT voltage, I got worried.  Those caps are rated at 500v but the HT is way higher, more like 560vdc – how can this be – is it normal?

So, after a bit more research I reckoned that the rectifier tube could be gone, or breaking down.  Replaced it and watched the anode voltage carefully as it was wound up on the variac – this time with protective glasses.

The voltage is still high, think about 520vdc, but Fender Deluxe reverb’s do run hot.  I regret not choosing 600vdc caps as they are just as easy to get hold of. However once the amp is being played the power supply sag will lower the HT voltage to perhaps lower than the rating of the caps.  If so all well and good. The amp has been giggied a  few times since being fixed and is running well.  It sounds absolutely awesome really clean, sounds like a bell and very detailed.  I do think that Fender might make the best amps.

Moral of the story – play safe on cap voltage.

Amploft