I have not come acrosss one of these before so thought I would share some pictures of this nicely made bass amp.
Judging by the selection of Hitachi output MosFETs these amps come from the 1980s/1990s I would estimate. Build quality is very high and no reason these amps won’t go on for ever. The only issues I faced on this one was of volume dips and the cause was just some of the jacks sockets suffering a little corrosion.
If you have one of these amps and want to get it restored don’t hesitate to get in touch to book it in.
I would love to see some schematic info on the Peterson amps. If anyone has any please let me know.
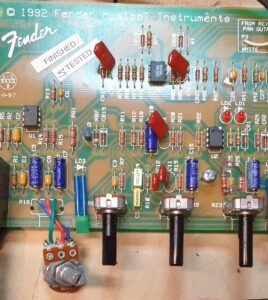
I was recently asked to help improve the uncontrolable volume on the a Fender Princeton 122+ amp. The good folks over at music-electronics-forum, in particular, Steve Ahola have come up with some ideas so I thought let’s give them a try.
In stock form this unassuming amp is a great clean fender amp and most people might be surprised to learn that it is a light weight solid state amp. In fact second hand these amps are pretty cheap second hand at about £70-120 in the UK.
The mods below just help to improve usability and versatility.
Clean Volume Pot Taper Improvement Mod
First mod is to replace the clean volume pot with something more gradual. The stock pot is an anti-log pot 50KC and the suggested solution is to use a 50K Log (audio) taper pot. I was a bit sceptical about this since an anti log pot is usually a bit more expensive compared to a log pot so it seems like Fender consciously thought that this was for the best. The results are quite dramatic with volume contol about half as sensitive. On the stock amp full power is achieved at about volume of 4 or 5 but with the mod this is moved way over towards 9-10. Definitely a keeper.
With anti-log pot stock
With 50KA pot mod
Volume Control Level
Speaker Signal (volts RMS)
Power (watts)
Speaker Signal (volts RMS)
Power (watts)
0
0.022
0
1
3.6
1.2
1.8
0.33w
2
9
8.1
4.5
2.0w
3
15
22.5
8
6.4
4
19
36
5
27
73
Input conditions: 100mV sine and EQ flat
Drive Channel Gain Reduction Mod
This next mod is just to tame the drive channel a little bit. Steve suggests adding a 68K resistor across C14 which turns the metal more into rock. I went with a 56K which added a little more control but I think this is worth experimenting further in the future.
Master Volume Mod
This simple mod just adds a master volume control like we see on many amps and allows us a little more control such that we can operate at night-time practice levels without waking the baby.
The MV control is simply an extra potentiometer effectively controlling the gain beteen the power amp and the pre amp. At full volume the amp behaves as stock and as the pot sweeps down the level is adjusted progressively. For home use I have been keeping at about half level. The pot is most easily added to the rear panel due the limited space on the front and also keeps the front panel un-modified. It is actually quite usable on the rear and also discourages the player from constant tweeking. If you really want to have it one the front panel then the only option practically speaking is to fit the pot right over on the right near the power switch which would mean cutting a hole in the chassis wherer the “princeton 112 plus” legend is displayed.
Every now and again I am fortunate to work on some really beutifully made amplifiers. Although these amps are usually inspired by some vintage classic Fender or Marshall, it is the attention to detail that seems to make all the difference in terms of tone and playability.
Tone King Metropolitan
Take this Tone King metropolitan. The chassis is engineered from what appears to be airplane grade alloy held together with screw that don’t round off on the second use. The pots have a velvetty feel making you feel perfectly in control.
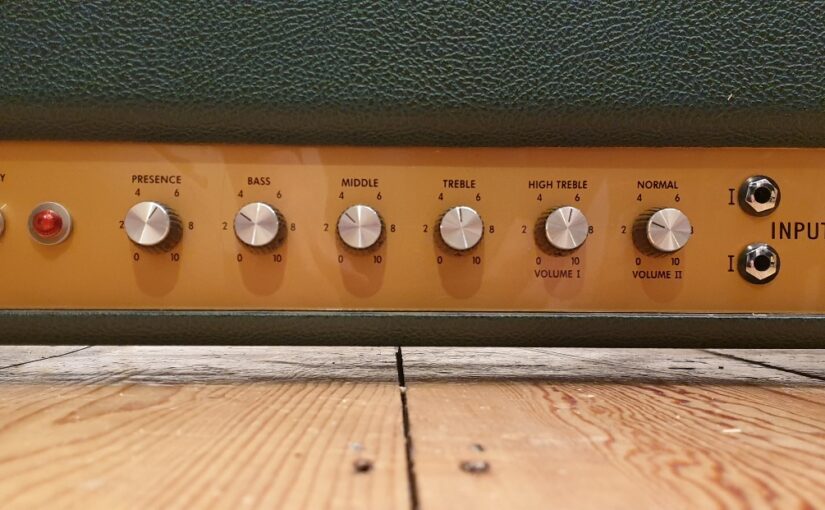
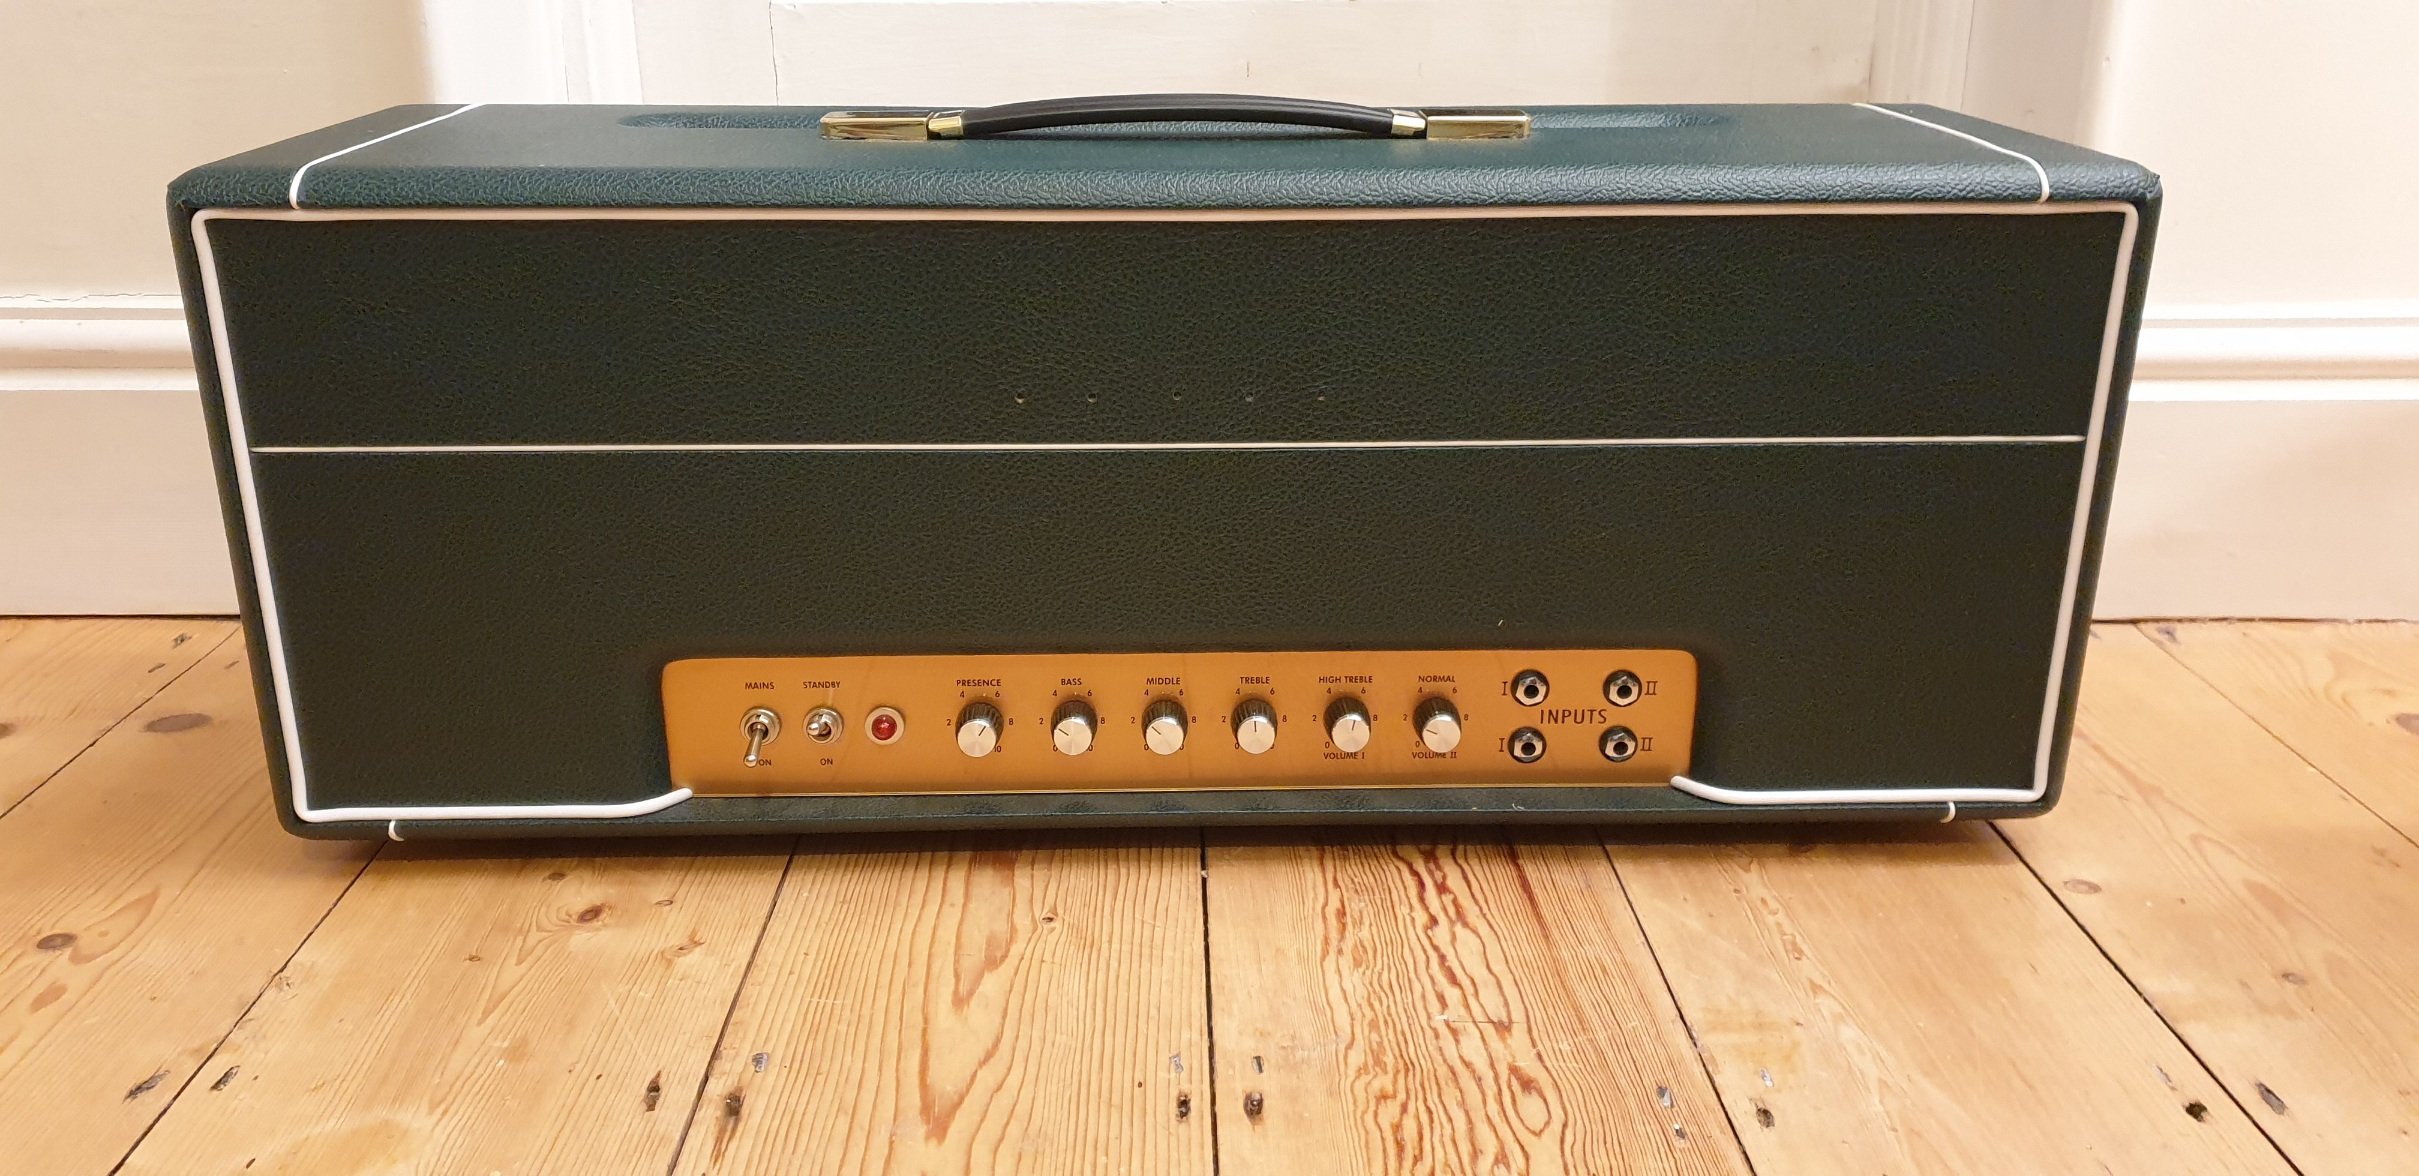
LazyJ J20
Simple enough 5E3 based amp with three.. err no four controls what could be simpler… Oh wait a minute round the back is a reverb with Tone, Reverb level and a Tremolo and wait there are more surprises. The Footswitch also has level controls… This amp is a great concept adding extra modules in the cabinet keeps the amp compact but allows for lots of flexibility. The addition of the attenuator is the attraction for me and allows you to operate the amp a all volume levels.
Build quality is excellent as is the parts with Switchcraft jacks through out, cloth wiring, solid fixings and tweed covering done to the highest standards.
Divided By 13 – JRT 9/15
An exceptionally well built amp from California where build quality oozes from every angle. Heater wiring, components lined up like soldiers, paper wound transformers, vibration absorbing pre-amp tube mounts. It is to die for. See Website for details and also the extensive list of top players that are using these great amps.
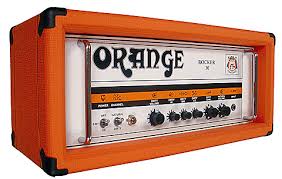
Orange amps are characterised by their distinctive colour, original sound, great build quality and over engineering that sets them apart and above their rivals.
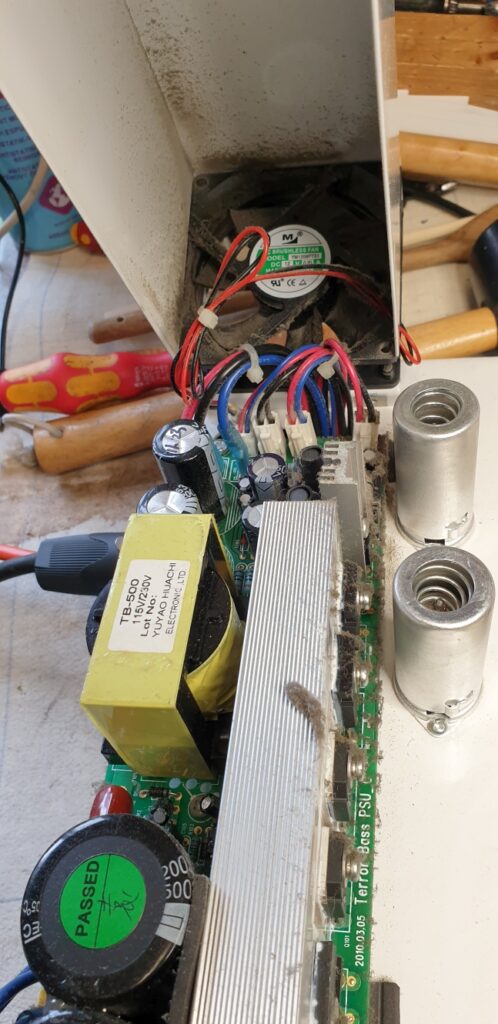
Orange Bass Terror
The original bass terror in its small tin box with carry bag was an immediate success. Great sound and highly portable. It comes in 500w and 1000w variations and is pretty reliable.
Some issues that I have come across are:
Power supply dying, blowing fuses repeatedly usually suddenly. Fortunately repair is achievable and if not replacement modules from Orange are available.
Power amplifier burn out caused by overheating, overload or just bad luck.
Other faults are typical service things like valves, control pots and jacks.
Like all class D amps reliance on good fan airflow is essential so make sure to clean it out every couple of years or so.
Repair success is pretty good on these amps thanks to the excellent support from Orange.
To prevent damage to your OBT make sure you dismantle and vaccuum out all of the dust from the fan once in a while. Class-D amps rely on cool running to keep working any reduction in the cooling ability will cause the amp’s early demise.
Turn your amp of
Use a paint brush to dislodge any engrained bits from the fan blades whilst using the vacuum to suck away the debris.
Repeat every year or two.
Video showing power supplu startup proecdure following repair
Orange Rocker 30
These 30w, 1×12, dual gainy channel amps have very little to go wrong in them. The only issues I have seen are from typical wear items like damaged pots, jacks and valves.
Here is a rare old Park 50 that was entrusted to me recently by a discerning collector. Great build quality on these hard to find marshall plexi style amps.
This section is about some techniques and ideas for restoring old equipment.
First section is on Cap restuffing.
On vintage amps and radios we often want to retain the amps capacitors since they such a part of the look. Particularly true when they are visible like on Ampeg flip tops.
In the above case of a delightful Park 50 amp several of the caps had dried up and various repair solutions had been tacked on with tape or glue. This conscientious amp enthusiast wanted to restore it properly and asked me for some options.
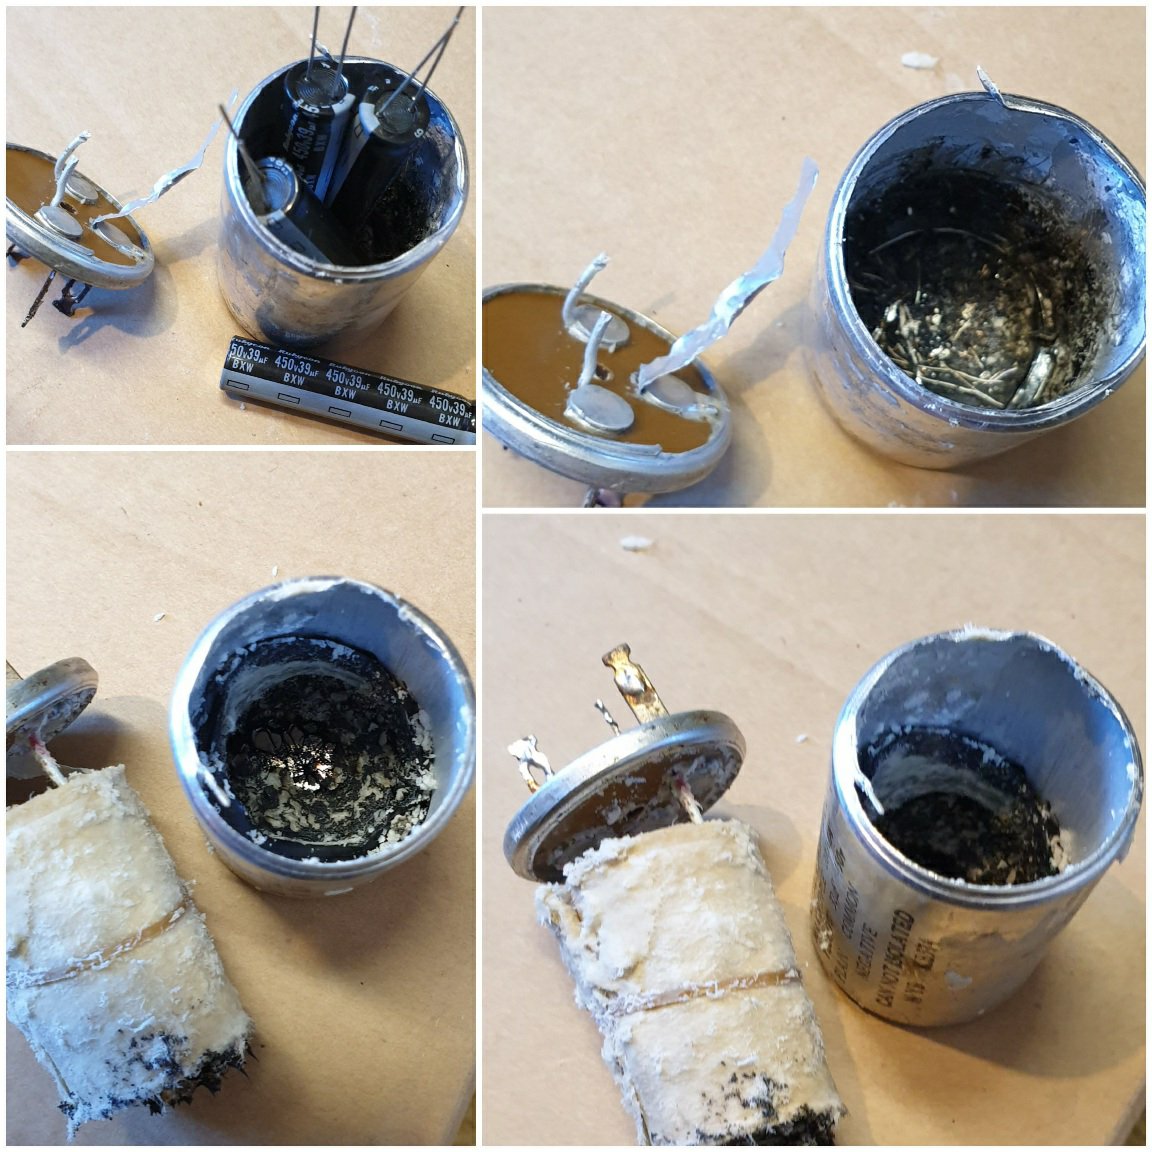
In this case because the cap cans are quite big 35mm and 25mm it was easy to restuff them. What is restuffing? Well it is what it sounds like. Replace the innards and have new capacitors that the eye cannot see.
It is a time consuming that involves cutting into the aluminium can of the capacitor, heating up its insides so that gunk and glue inside melts and can be removed. Next we need to find suitable replacements such as the excellent miniature range from Rubycon that are between 10 and 12.5mm diameter and similar height so fit into the cans directly.
I like to use two capacitors in series, with equalisation resistors to make the working voltage that each cap must deal well within its range. On This park B+ was over 450 the same rating as the caps but in fact when I checked the spec the caps peak is 450 and working is 450vdc.
Care needs to be taken with adequate insulation material since the series cans will have high voltage on one of the cans. I like to do a PAT insulation test on the the cap to be sure that there is no possible short as well.
Once the caps are in the can then the wires are brought through tiny holes to join on to the old cap terminals. Don’t forget that our original cap can is in two halves now but we can join together using wire diameter heat shrink and optionally some plastic plumbing tube internally is strength is required. This sounds a bit flimsy but don’t forget that the cap is going into a metal holder and that will provide a firm grip on out new but old looking part.
Visually you can only tell that cap has been restuffed if you look very closely. You can see the wires coming through the top but that is all.
And it’s great to know that you are running with brand new caps. In the case of this Park 50 the amp was a little bit hummy beforehand so has benefited from the new caps although it was not so bad to have needed them doing.
Restuffing a capacitor like this typically takes a couple of hours time, great patience but the results are rewarding.
I don’t really work on HiFi, why you ask? It’s a fair question and the reason is that there are just so many different makes, manufacturers that it is difficult to gather any experience on them all. So there are a few makes that I like or have success with and I will accept them for repair projects.
I really love the sound of the old Marantz HiFi amps from the 1970s. Walnut veneer chip board surrounds, glowing lights what a joy. I don’t usually work on HiFi but here I make an exception.
These amps are made to the highest standards and feature great transformers and parts top to bottom.
A couple of issues I have come across and are worth sharing to help others.
Crackling no matter volume level
Seen on Marantz 4240 but applies across the range. In this scenario the amp works as normal but produces a fairly constant rustling / sizzling bacon style crackle. The fault may increase gradually folowing switch on or be permanent. Even with no input connected the fault is present and not effected by the volume control.
The cause is leaky tone recovery transistors on the PCB driving the amplifier blocks.
Worn Capacitors
Everywhere on the internet people talk about replacing capacitors. It’s a bit over stated. Often their are visual signs like rupturing. leaks and yes these should be replaced in pairs but shotgunning the whole amp is wasteful of time and money and unlikely to be worth it.
So concentrate on where it is needed.
visibly worn decoupling caps
interstage electrolytic coupling caps
Tantalum caps
If you have one of these amps that you would like to sell either for restoration or parts donor I would be interested to hear from you.
These gadgets are fantastic streamers with a loyal community following.
One common fault is a drop in output from one or both of the channels. The fix is quite simple in most cases and I am doing these by post for £34 each plus shipping costs.


 I was recently asked to help improve the uncontrolable volume on the a Fender Princeton 122+ amp. The good folks over at music-electronics-forum, in particular, Steve Ahola have come up with some ideas so I thought let’s give them a try.